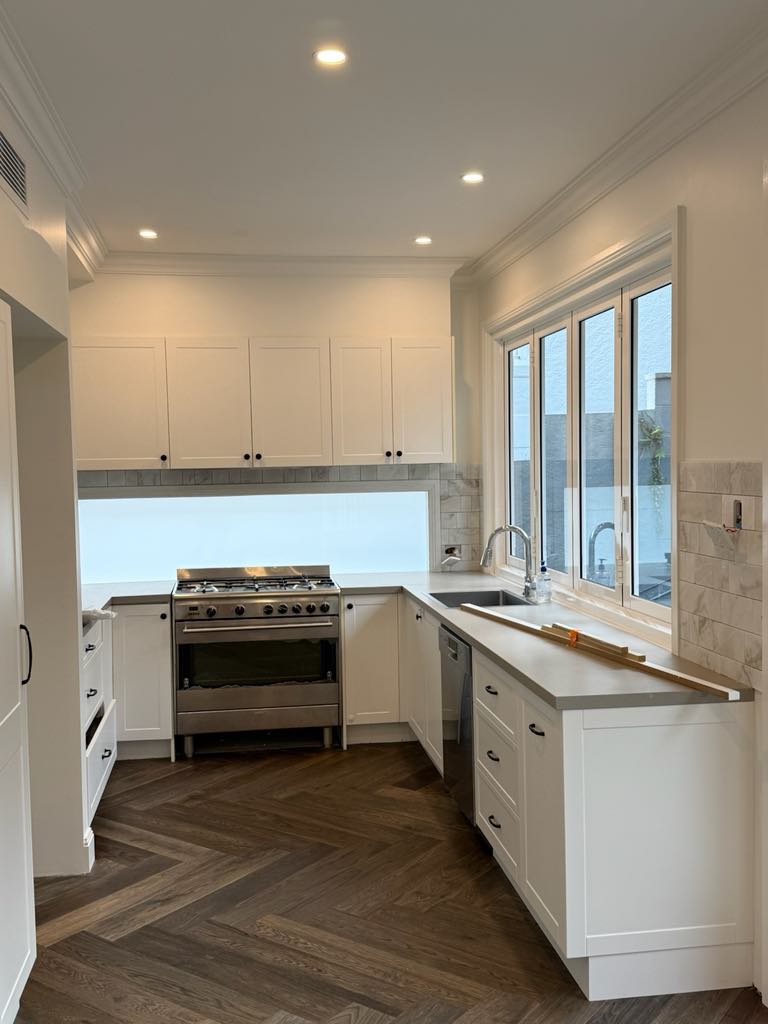
Post-renovation cleaning is where most homeowners think they can save a few hundred dollars and end up damaging the finishes they just paid for. Fresh paint scratched off with the wrong cloth. Engineered timber dulled with the wrong product. Stone benchtops etched within a week because someone used an acidic cleaner on them.
We've cleaned hundreds of post-renovation jobs and the pattern is the same in most DIY attempts. The result of cutting corners on the cleanup costs more than the cleanup itself would have.
There's a second issue most homeowners underestimate. Construction dust isn't just dust. It contains silica from cut stone and concrete, gypsum from plasterboard, paint residue, adhesive overspray, and fine particles from sanding. Some of it is a respiratory hazard.
SafeWork NSW classifies cleaning up after construction work as high-risk where silica dust is present, with specific protocols for clean-up and disposal. One of the key points in their guidance is that dry sweeping or compressed air should never be used on construction dust because it makes the air far more contaminated than it already was. A standard household vacuum is also unsuitable, even one labelled HEPA, because the seals around the bag and motor leak fine particles back into the room.
Here's the method that actually works.
Step 1: Wait the Right Amount of Time
Don't clean while the trades are still on site. Dust settles within 24 to 48 hours after the last grinding, cutting, or sanding work. Cleaning too early means cleaning twice because more dust will fall after you finish. Cleaning too late means dust will have bonded with humidity into a film that's much harder to remove.
The sweet spot is two to three days after the last dusty activity. If the painters were last on site, give it longer because paint needs time to fully cure and cleaning before then can mark fresh paint.
Step 2: Suit Up
P2 respirator at minimum. Safety glasses. Disposable overalls or clothes you don't mind washing on a hot cycle afterwards. Closed shoes. Construction dust gets into everything and you don't want to track it through to the rest of the house.
Step 3: Bulk Debris First
Pick up the obvious stuff before anything else. Offcuts, packaging, dropped fasteners, dust clumps in corners. Bag it for disposal. Walk every room and look at floor level. Then look at the top of every cabinet, doorframe, and skirting board where debris collects.
Step 4: Vacuum with a Class M or Class H Vacuum
This is the most important step and where most DIY jobs fall apart. A standard household vacuum, even one labelled HEPA, isn't built for construction dust. The motor seals leak and the bag pressure pushes fine particles back into the room.
Class M (medium) and class H (high) rated vacuums are designed for hazardous dust. They have proper filtration and sealed motor housings. The bags or canisters don't leak. Bunnings hires them. Most tool hire shops do too. Roughly $80 to $120 a day.
Vacuum top to bottom. Start at the ceiling. Vacuum ceiling fans, cornices, the tops of doorframes, and the top of every cabinet. Then work down the walls. Sliding door tracks. Skirting boards. Then horizontal surfaces. Then the floor last.
Step 5: Wipe Surfaces with the Right Product
This is where finishes get damaged. The fundamental rule is match the cleaner to the finish.
Painted walls: damp microfibre with plain warm water for the first pass. If you need a detergent, dissolve a tiny amount of Sugar Soap in water (not concentrated). Rinse with a second clean cloth. Don't use anything alkaline or solvent-based on fresh paint.
Stone benchtops (engineered or natural): pH-neutral cleaner only. Method Daily Granite or a generic pH-neutral stone cleaner works. Never use vinegar, lemon juice, bleach, or anything containing citrus. These etch stone permanently within minutes.
Engineered timber floors: Bona Hardwood Floor Cleaner with a microfibre flat mop. No water mopping. No general-purpose cleaners. Engineered timber has a finish that's degraded by detergents and dulled by water sitting on it.
Tile and grout: warm water with a small amount of detergent for tile faces. The grout needs a separate pass with a soft brush since construction dust packs into grout lines tightly.
Stainless steel fixtures: microfibre with warm water. Bar Keepers Friend only on heavily marked stainless, never on coated finishes or chrome.
Glass and mirrors: leave these until last. Cleaning glass first means dust from later steps settles back on freshly cleaned surfaces.
Step 6: Air Vents and Exhaust Fans
Construction dust gets pulled into HVAC and exhaust systems. The air conditioning return vent needs cleaning. So does the bathroom extractor fan. The kitchen rangehood filter too. If you turn on the AC without cleaning these first, you'll circulate construction dust through the house for weeks.
Remove the AC return grille and wipe it down. Pull the filter and wash it per the manufacturer's instructions (most domestic filters are simply rinsed and air-dried). Same with the rangehood filter, which can usually go in the dishwasher.
Step 7: Glass and Floor Final Pass
Now do all the glass. Windows, mirrors, splashbacks, shower screens. Cheap glass cleaner works for most glass, but for shower screens use a vinegar/water mix at 1:3 to handle any builder's residue.
Then the floor final pass. Hard floors get mopped with the appropriate product (Bona for timber, neutral cleaner for tile and vinyl). Carpets get vacuumed a second time, slowly, with overlapping passes.
Common Mistakes That Wreck New Finishes
Using a feather duster instead of microfibre. Feathers redistribute dust into the air. Microfibre traps and holds it.
Using a regular vacuum on construction dust. The dust comes out the back of the motor and settles on every surface again within hours.
Mopping engineered timber with water. The finish lifts within months. Use a barely-damp microfibre mop with a wood-specific cleaner.
Using bleach or acidic cleaners on natural stone. Etches the surface permanently and the only fix is rehoning, which costs more than the entire cleanup would have.
Cleaning glass before everything else. You'll do it twice.
Spraying air fresheners to mask the construction smell. The smell is off-gassing from paint, adhesives, and new materials. Air fresheners don't fix it. Just ventilate. Open windows and run extraction for two to three weeks after a major renovation.
When to Hire a Professional
Post-construction cleaning is one of those jobs where the DIY economics often don't work. Class M vacuum hire is $80 to $120 a day. PPE is another $40 to $60 if you don't have it. The right products for each finish add up to $100 plus. And a three-bedroom house post-renovation takes two people most of a day to do properly. That's before you factor in the risk of damaging finishes that cost five figures to install.
Professional post-construction cleaning runs $400 to $900 for a typical three-bedroom residential job, depending on the scale of the renovation and the surfaces involved. Builder's cleans for new builds or major renovations are higher again, $800 to $1,800, because they include detailed glass cleaning inside and out plus full HVAC cleaning. Finish protection runs through the whole process.
If you're managing a renovation and want the cleaning sorted properly, our construction cleaning service covers residential and commercial projects. We bring the right vacuums and PPE. Cleaners are matched to each surface so nothing gets damaged in the cleanup.